A broken fence can be a real eyesore, not to mention a potential safety hazard. Whether it’s a result of a severe storm, vandalism, or just general wear and tear, fixing a broken fence is an important task that should be tackled as soon as possible. In this blog post, we’ll go over the steps you need to take to repair a broken fence and get it back to looking and functioning like new. We will cover the repair process for timber, Colorbond and Aluminium fences, as the repair process varies depending on the type of fence you have.
Assessing the Damage
The first step in repairing a broken fence is to assess the damage. Take a look at the broken section of the fence and determine what needs to be done to fix it. Is it a simple matter of replacing a few broken boards, or does the entire section need to be replaced? Are there any posts that need to be reset or replaced? Make a list of the materials and tools you’ll need to complete the repair.
Gathering Materials and Tools
Once you have a clear idea of the scope of the repair, it’s time to gather the materials and tools you’ll need. Depending on the type of fence you have, the materials you’ll need will vary. It’s important to have all the necessary materials and tools on hand before starting the repair to ensure a smooth and efficient process.
Timber Fence:
- Replacement boards
- Nails
- Hammer
- Saw
- Paint or stain (if needed)
Colorbond Fence:
- Replacement panels
- Screws
- Drill
- Paint or rust inhibitor (if needed)
Aluminium Fence:
- Replacement panels
- Screws
- Drill
- Silicone sealant (if needed)
Preparing the Area
Before starting the repair, it’s important to prepare the area by cleaning up any debris or branches that may be in the way. This will ensure that you have a clear and safe working space. It’s also a good idea to clear away any plants or landscaping that may be close to the fence, as they could be damaged during the repair process.
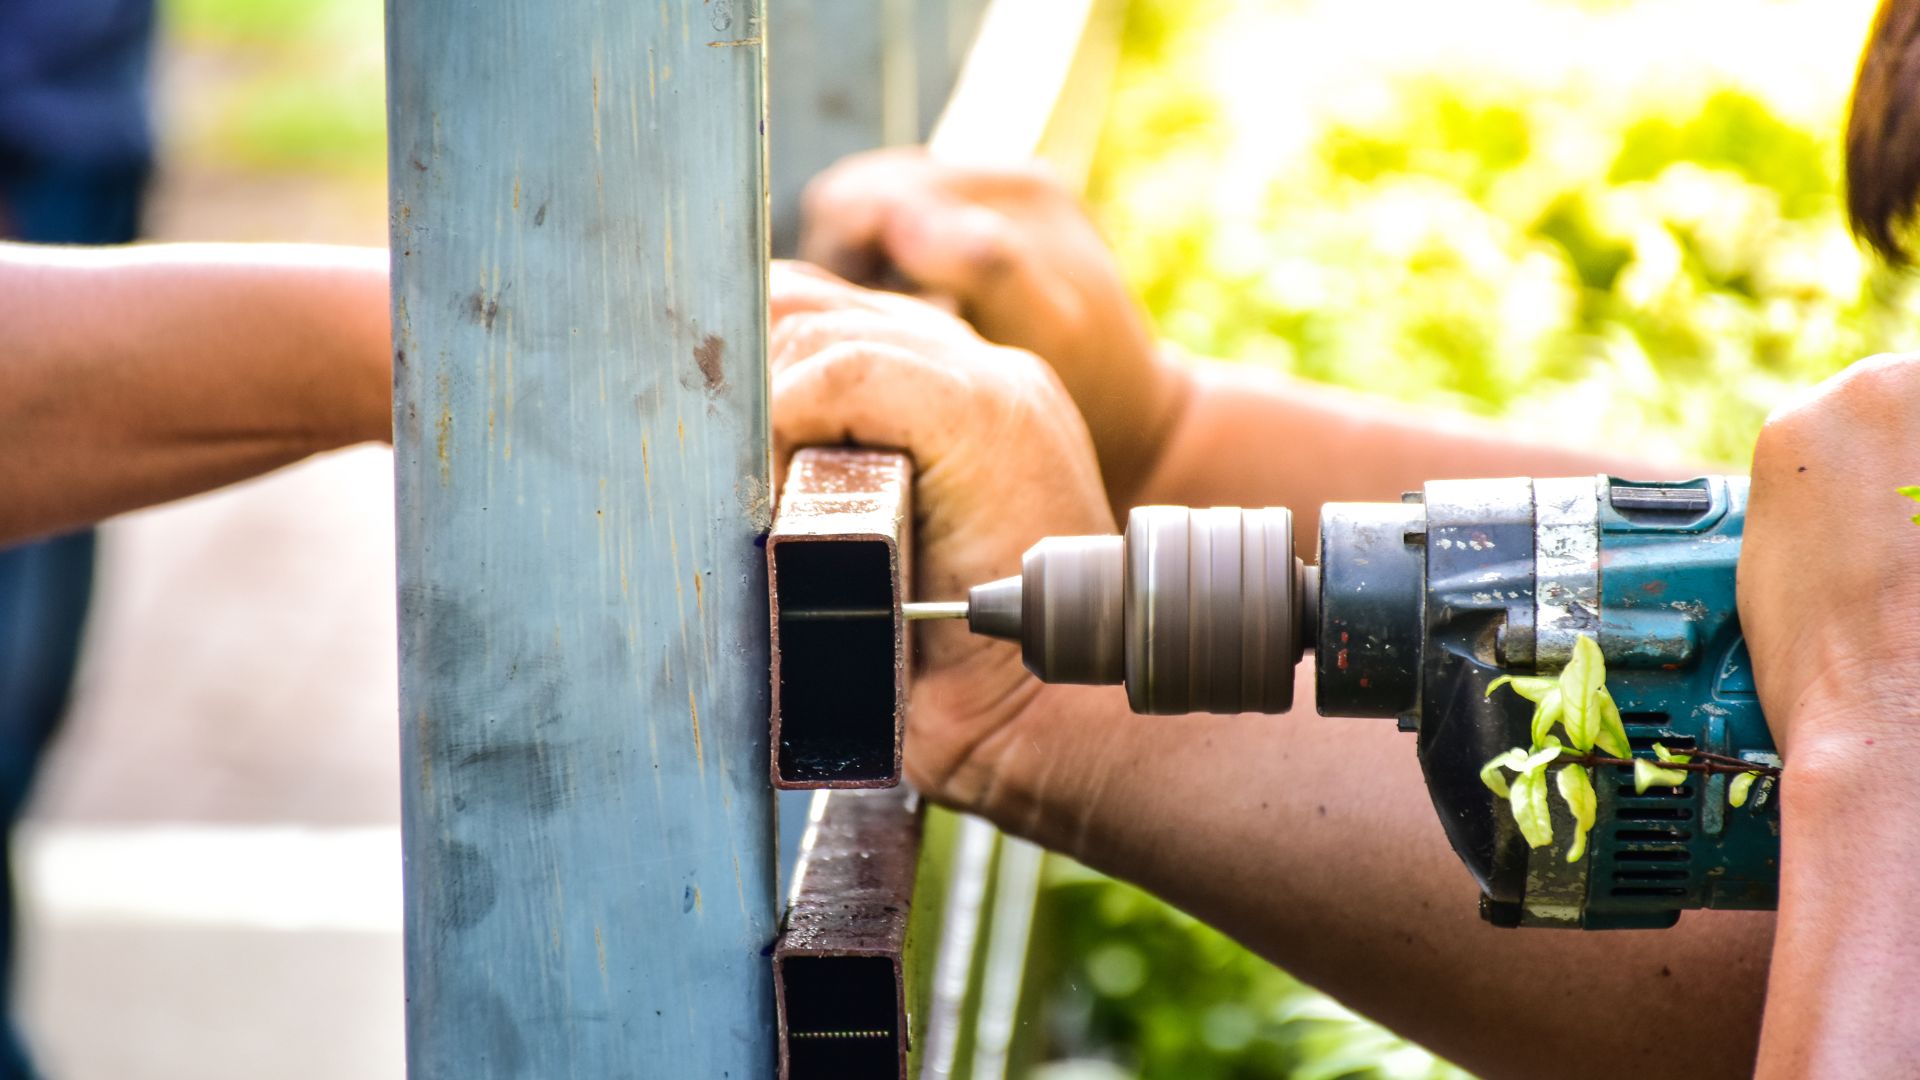
Repairing the Fence
Once you have all the materials and tools you need, and the area is prepared, it’s time to start repairing the fence.
Timber Fence:
- Use the saw to cut the old boards to the appropriate length
- Nail the new ones into place
- Make sure to use the proper tools and techniques to ensure a secure and stable repair
- Paint or stain the new boards to match the existing fence
Colorbond Fence:
- Remove the damaged panel
- Measure and cut the replacement panel to fit
- Use the drill to attach the new panel using screws
- Apply paint or rust inhibitor to protect the new panel
Aluminium Fence:
- Remove the damaged panel
- Measure and cut the replacement panel to fit
- Use the drill to attach the new panel using screws
- Apply silicone sealant to secure the connection and protect against water damage
In conclusion, fixing a broken fence is an important task that needs to be tackled as soon as possible. By assessing the damage, gathering the necessary materials and tools, preparing the area, and following the appropriate repair process for the type of fence, you can have your fence looking and functioning like new in no time. Remember to use proper tools and techniques to ensure a secure and stable repair.
If you want a strong fence installed correctly the first time by reputable experts, be sure to contact Gladstone Fencing Experts. We offer reliable installation of timber, aluminium and colorbond fences. Our team of experienced fencing contractors will work with you to find the best solution for your needs and budget. Contact us today for a free quote!