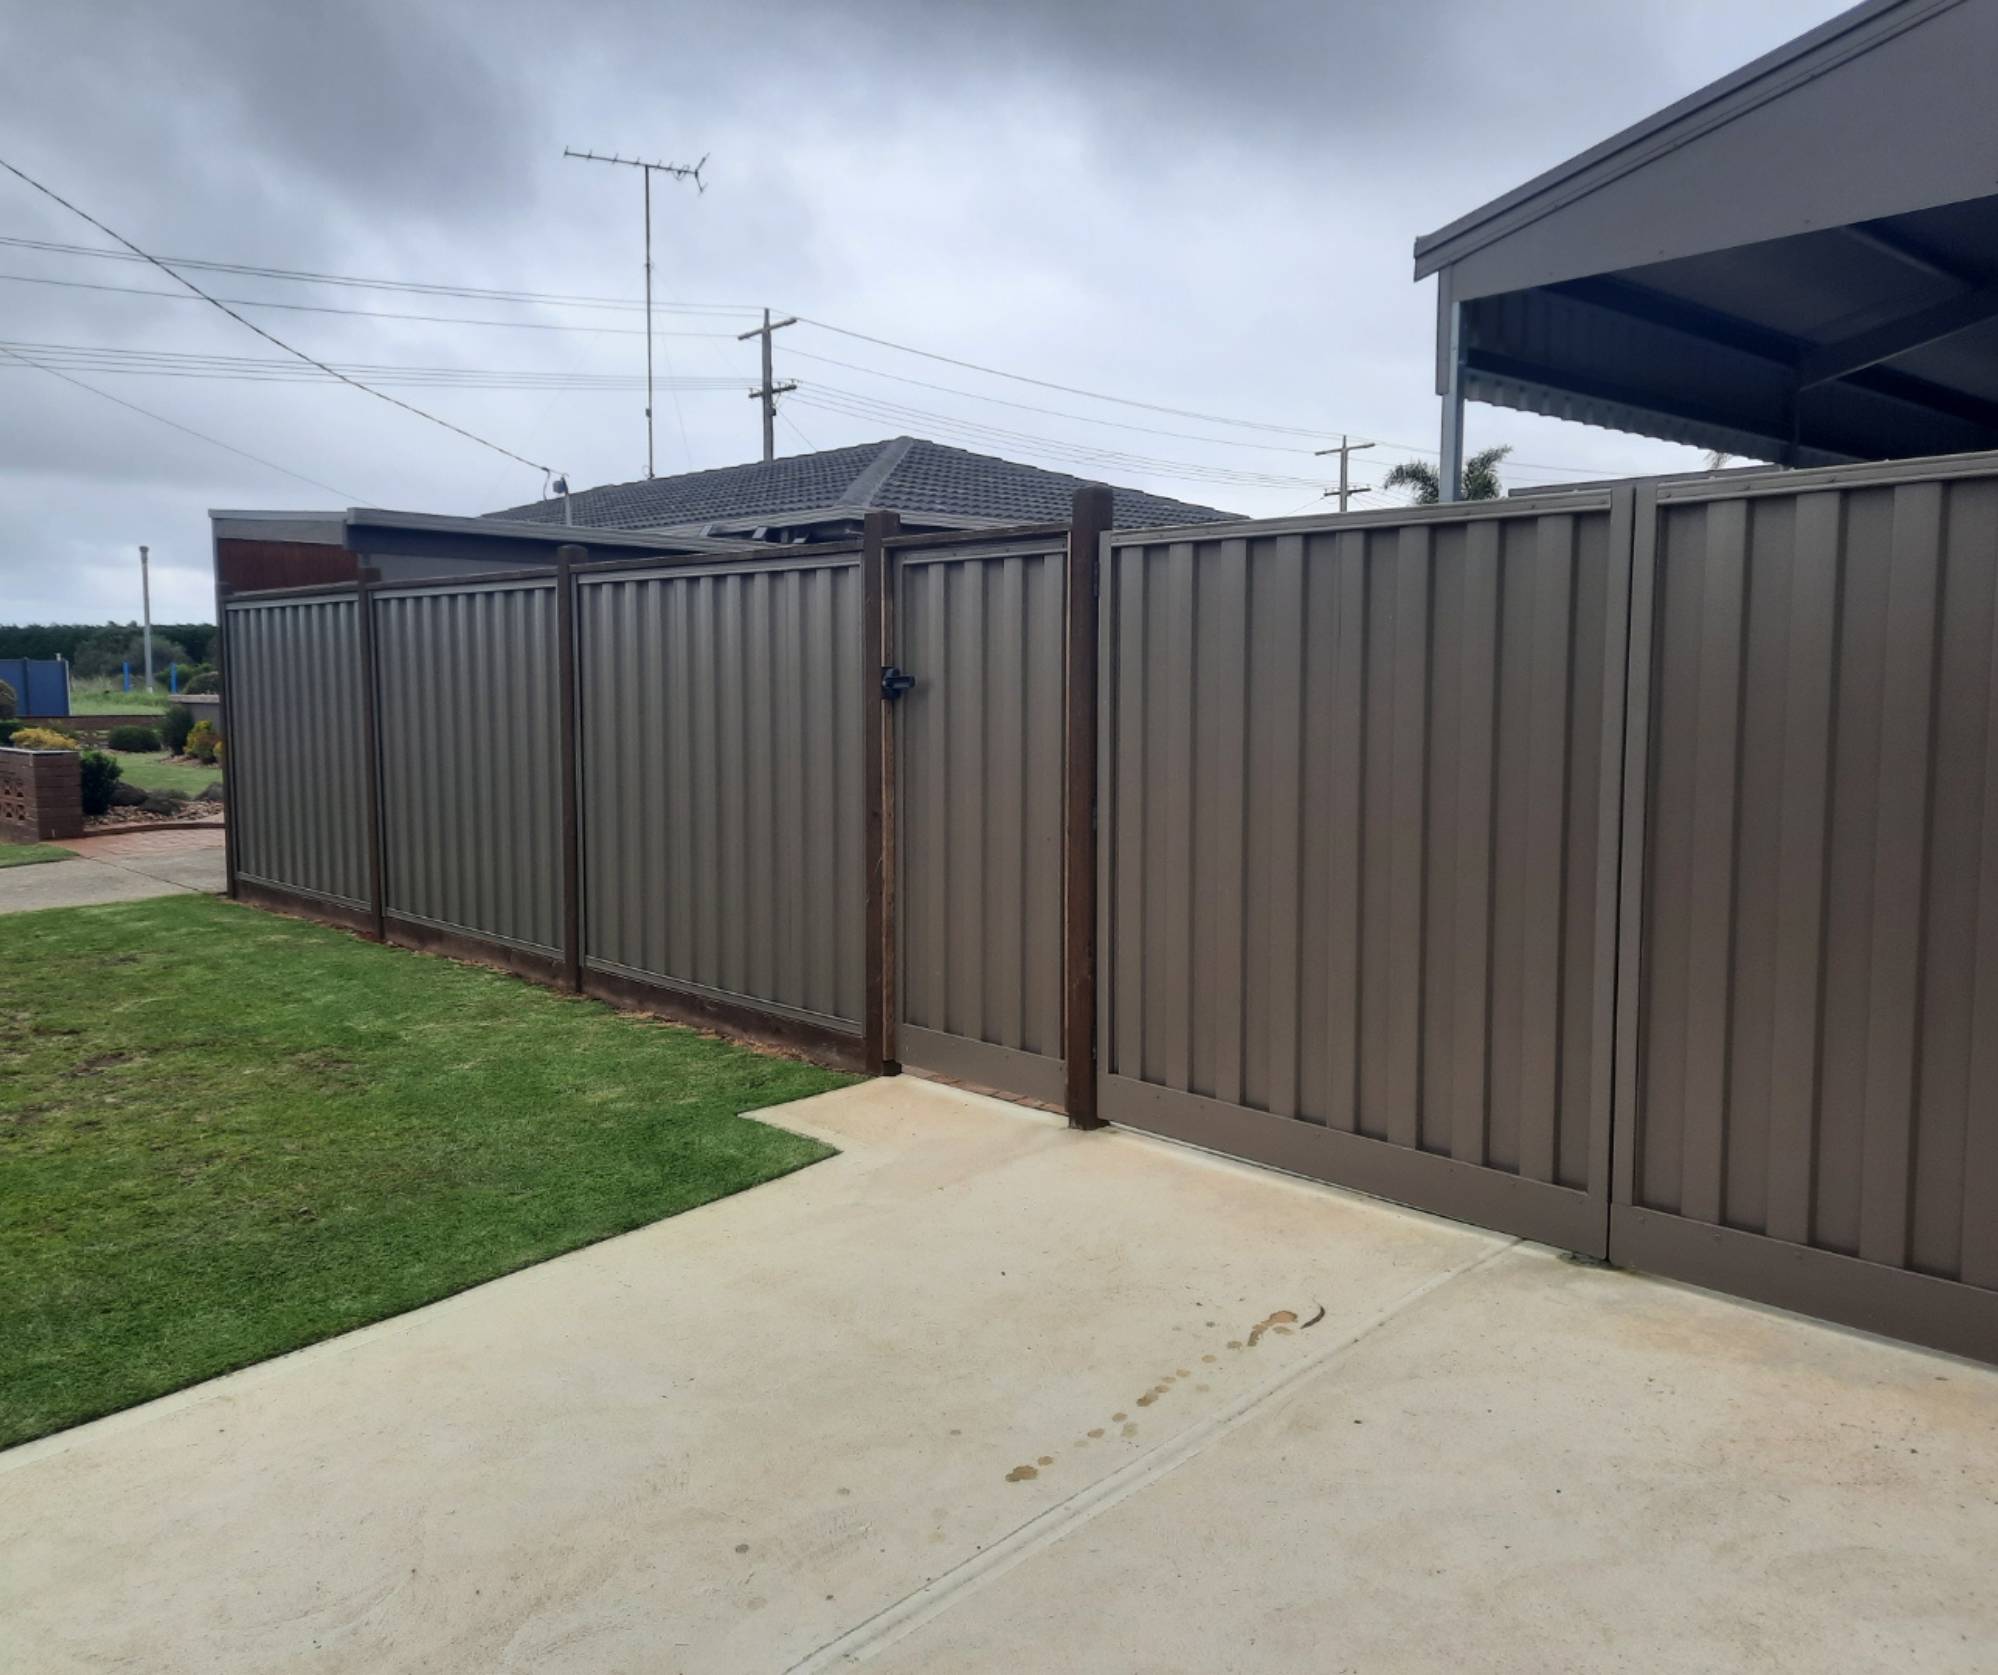
A Colorbond fence is a great way to add privacy, protection and aesthetic appeal to any property. Colorbond fencing comes in a range of colours, so it’s easy to find the perfect fence that suits your style or complements your existing landscaping. Plus, if you ever decide to move house, Colorbond fencing is designed to be easily transported and re-installed at your new home without compromising its aesthetic appeal. So if you’re looking for a stylish solution that stands the test of time, look no further than Colorbond fencing!
At Gladstone Fencing Pros, we know how important it is to have a secure and attractive fence around your property. That’s why we are proud to offer professional installation services for Colorbond fencing in the Gladstone area. This type of fencing provides great protection and security, while also giving you a beautiful aesthetic that can enhance your outdoor living space. To ensure you get the most out of your new Colorbond fence, here are 5 steps that can help make installation quick and easy.
Step 1: Preparing the Site
The first step in installing a Colorbond fence is preparing the site. This includes measuring and marking out where your posts will go, digging holes for each post, checking for underground pipes or cables and making sure all of the necessary materials are on-site before you begin. Measure twice and mark clearly with either spray paint or wooden stakes so that you know exactly where your posts should be placed later on. To dig the holes for each post, use a post-hole digger or hire an earthmoving machine if necessary. You may need permission from local authorities before you can get started depending on certain regulations in your area.
Step 2: Setting Posts
Posts are the skeleton of any fencing structure and should be set correctly to ensure a strong, secure fence. The most important thing when it comes to setting posts is ensuring that they are level and evenly spaced. Posts should also be correctly supported with concrete for stability and protection from weathering. When measuring your post holes, you should take into consideration factors such as the length of your Colorbond fence panels and local regulations. After digging your post holes, fill them with a concrete mix – this will provide extra support for the posts once inserted into place. Additionally, make sure each post is placed approximately 2 inches away from each other before securing them in place with quick-set concrete or cement mix.
Step 3: Attaching Rails
The rails are the horizontal pieces that connect to each side of the posts and provide support for the panels. When installing a Colorbond Fence, it’s important to pay attention to detail and ensure that every rail is securely attached to every post. This can be done by using coach screws and washers for added security. Before beginning this step, make sure you have all necessary tools and materials on hand including a spirit level for precision alignment. It is also essential to measure twice before cutting any sections of rail as this will help prevent mistakes in the long run. With these steps in mind, attaching rails should be relatively straightforward – just make sure each one is firmly secured with the correct measurements!
Step 4: Installing Colorbond Sheets
Since you already have the measurements after following step 1, now cut the Colorbond sheets to fit the measurement using tin snips or a nibbler. Secure them into place using screws or rivets along both sides of each sheet every 600mm or 1200mm depending on how much support is needed for your particular installation. If any posts require cutting down or trimming, use an angle grinder with a metal blade attachment for best results.
Step 5: Finishing Touches
Finishing touches on a Colorbond fence installation can make all the difference to the aesthetic of your property. You should add any additional fittings such as hinges and latches where required. Make sure that they match the colour of the rest of your fence so that it looks uniform and aesthetically pleasing. Check for stray screws or sharp edges which may have been left behind during installation, as well as any gaps between panels that could lead to security issues later down the line.
Therefore, the installation of a Colorbond fence is an important project that can be completed in five straightforward steps. It is important to understand the different parts and materials involved, as well as the best way to install them. However, if you are in doubt or unsure of what to do, it is essential to get professional help.
Enlisting a professional will not only provide peace of mind but also ensure that your fence is correctly installed and meets all building codes. Qualified professionals have the necessary experience, tools and knowledge to complete longer projects more efficiently than amateurs. Professional fencing contractors can also offer advice on how to improve the look and durability of your Colorbond fence while meeting any local regulations or requirements. At Gladstone Fencing Pros, we have a team of professional fencing contractors who are not only experienced but also licensed and insured.